There are those that pin things on Pinterest and then there are those that post things to Pinterest. Considering my blog is titled Mommy Mishaps it’s probably not a big shocker as to which camp I belong to.
Recently while cruising around Pinterest looking for inspiration for a blog I’m writing for a client I saw the most adorable mini-caramel apples. Then today while I was at the Supermarket I stumbled across candy apple kits on sale for $1.99 so I thought – as I’m sure most of us do when we see a cute recipe idea – “How hard can it be if I’m using a kit?”
Well folks, apparently it can be really hard for someone as domestically challenged as I am. But in usual Mommy Mishaps style for some reason I can’t keep it to myself. Instead of letting the secret about my epic FAIL stop at just my loving family I am here to share the mini-caramel apple catastrophe of 2014 with you. You can thank me later.
What is extra hilarious is that during the process I was taking pictures of all of the steps so that when they turned out super awesome I could share it with everyone in the world so that you could all be really jealous of how amazing I am.
So, here is my step-by-step instructions on how to royally screw up mini-caramel apples. Enjoy!
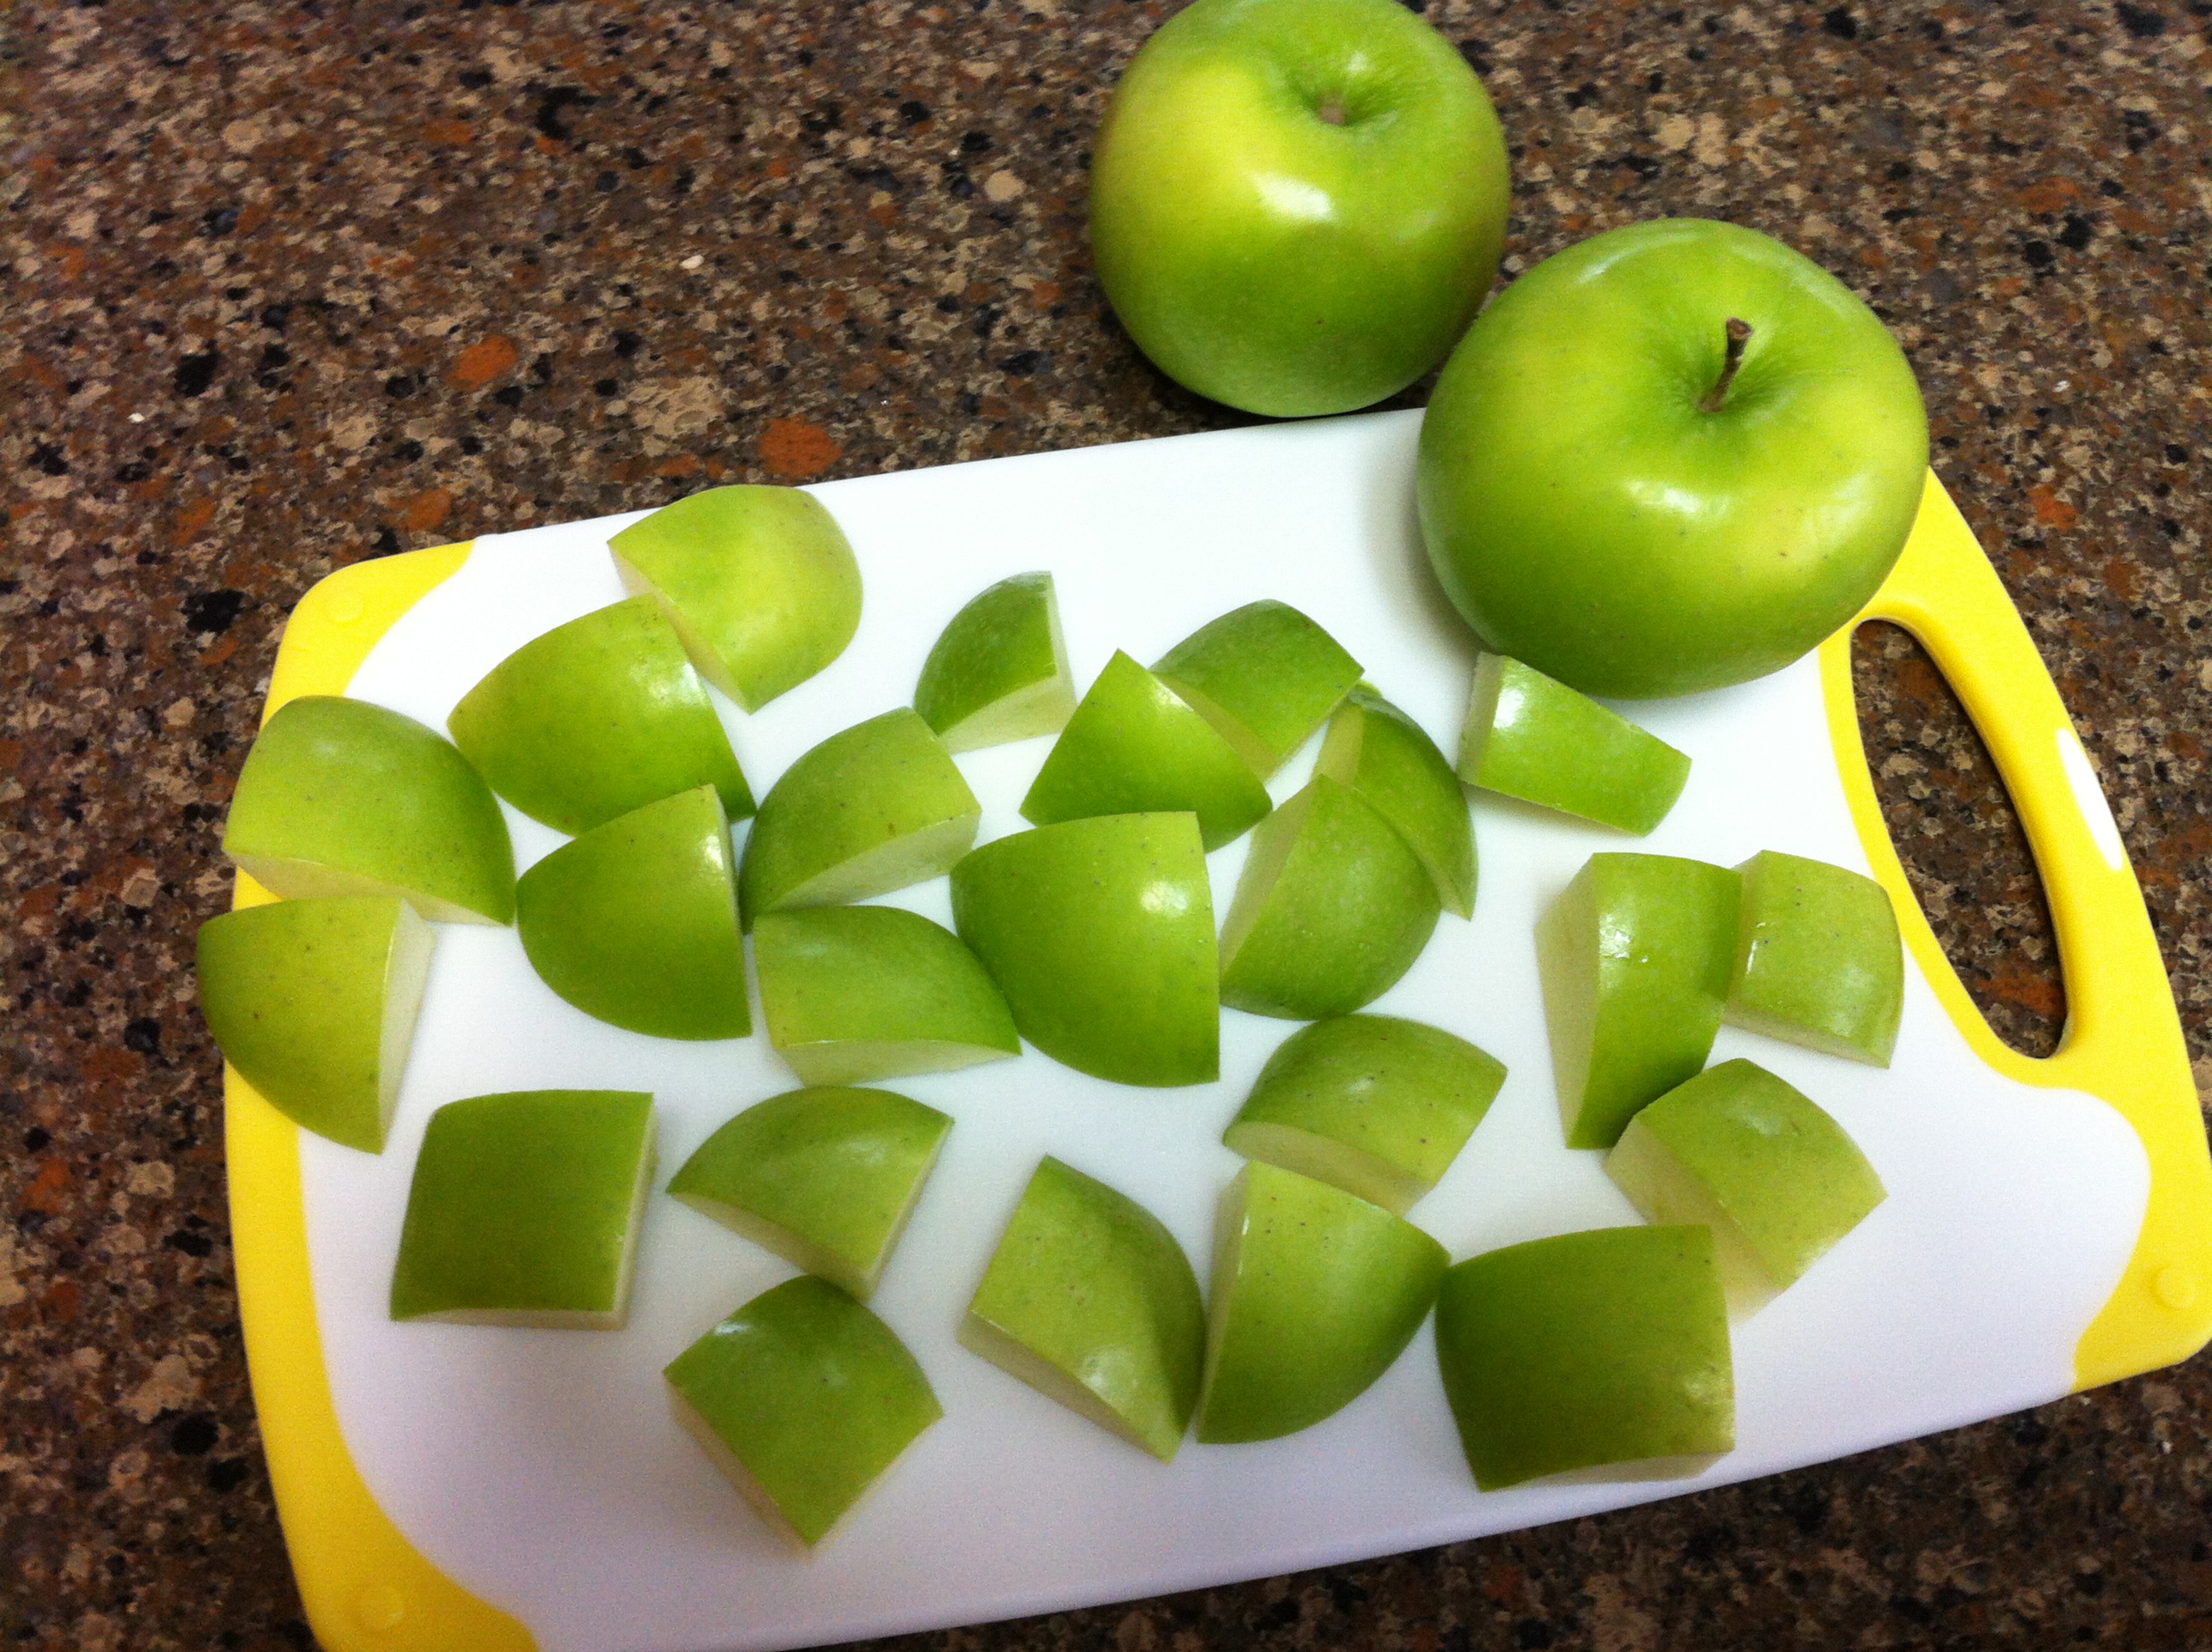
Step 1:
Cut up apples into small bite-sized pieces. But don’t do it with a melon baller since you suck in the kitchen and you don’t have one. Instead cut them up into random, crazy trapezoid-shaped monstrosities.
Step 2:
Purchase a $1.99 caramel apple kit and pull out some sticks and decorations out of an old cake pop kit that you got for Christmas in 1921 and haven’t used because, well, you suck in the kitchen and you just buy your cake pops from Starbucks.

Step 3:
Follow the instructions on the caramel kit. Think to yourself “this is going to be so easy…it’s just milk, sugar and a caramel powder mix. I can totally handle 3 ingredients.” Then look at your 3 kids surrounding you in the kitchen admiring you because you are the world’s best mom for making such a fantastic treat for no reason at all. Oh, but wait….the instructions call for a candy thermometer. What the hell is a candy thermometer? Assume that you are smart enough to figure out what the instructions mean by soft ball consistency and that you are capable of figuring out when something is 240 degrees by just looking at it. Stir your brains out. Stir some more. Wonder why it is taking so freakin’ long and be afraid that you’ve done it too long. Pull it off too early.

Step 4:
After allowing your cute kiddos to stick the cake pop sticks into each of the crazy-shaped pieces, get crazy and let them decorate them. It’ll make them even cuter in the end, right?
Step 5:
After dipping the fruit into your caramel sauce that is closer to the consistency of gravy than caramel don’t forget to hold out hope that the darn stuff will thicken as it hardens. But in order for that to happen the caramel that has slid off each piece of apple would literally have to defy gravity and crawl its way back up the apple. But remain in denial because I’m sure that is what all Pinterest queens do as they are admiring their work. Put them in the refrigerator. Hold out more hope.

Step 6:
Listen to your children beg to take them out. Assure them that they will just taste like apples because the caramel gooey goodness is basically just lining the cookie sheet they are sitting on. Seriously consider just licking the cookie sheet and then decide to do that after the kids go to bed because you don’t want to encourage disgusting behavior.
Step 7:
Stage and snap a final picture of your gorgeous masterpiece. Laugh hysterically.

OK, so the bottom line here is that these little boogers were delicious. Ugly but stupendously delicious. I had fun making them with the kids and everyone liked eating them. So, Pinterest eat your heart out.


